


The Modern Homesteader’s Guide to Thriving in 21st Century America
October 2, 2025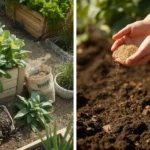
Guide to Organic Fertilizers for Your Home Garden Top Products, Tips
October 9, 2025
Are you tired of struggling with poor soil, constantly watering thirsty plants, or dealing with mountains of yard waste after pruning? Many gardeners know this frustration all too well, compacted earth that refuses to cooperate, rising water bills, and the never-ending task of disposing of branches and logs can make gardening feel more like a chore than a joy, especially without the right garden tools.
Now, imagine a garden bed that almost waters itself, steadily enriches its soil, and turns what you once considered "waste" into a thriving, productive ecosystem.Traditional gardening often demands significant effort, frequent spending on soil amendments, and precious time that could be spent enjoying your outdoor space, explore spring garden preparation.But what if there was a way to create a fertile, resilient garden that largely takes care of itself, learn more about gardening here.
This guide will introduce you to Hugelkultur, a clever and sustainable gardening technique that turns organic debris into a self-sustaining, nutrient-rich garden bed. With step-by-step instructions, you’ll learn how to conserve water, boost soil health naturally, and transform your yard waste into a slow-release source of nutrition for your plants. Get ready to reduce your workload, nurture a thriving garden, and experience gardening in a whole new, resilient way.
1. Understanding Hugelkultur: The Foundation of Sustainable Gardening
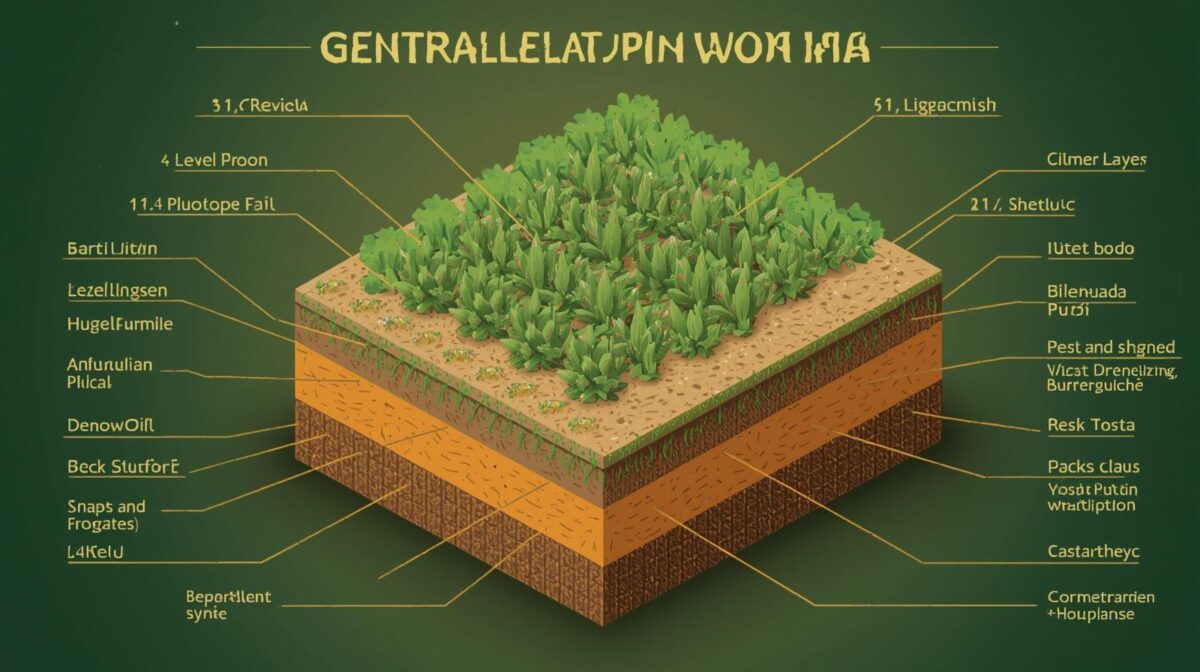
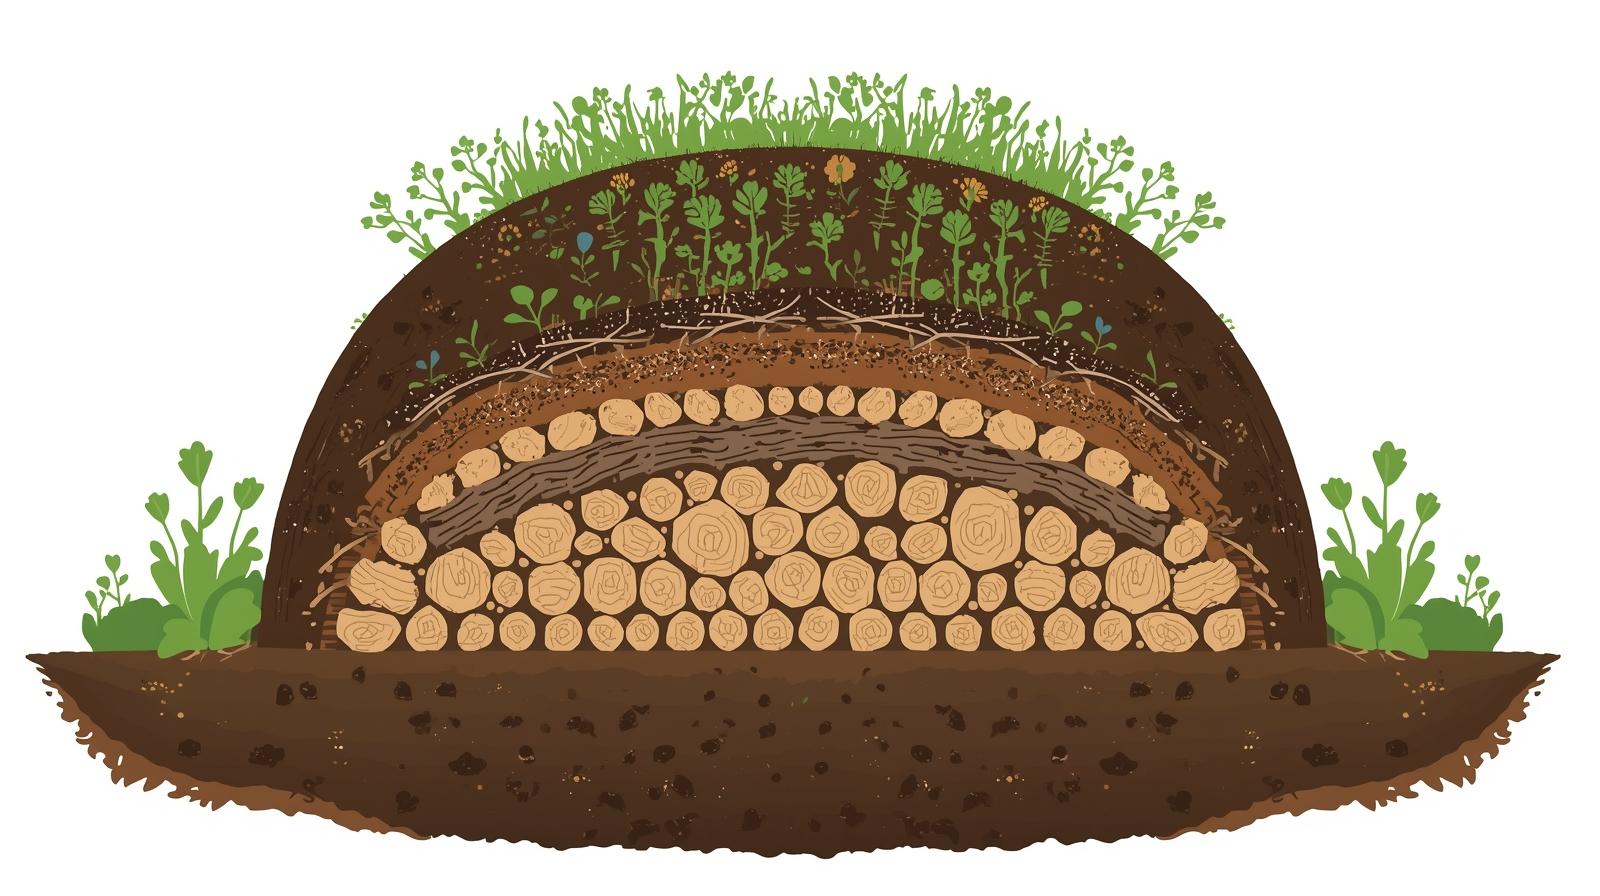
1.1 What is Hugelkultur? A Definition and Historical Context
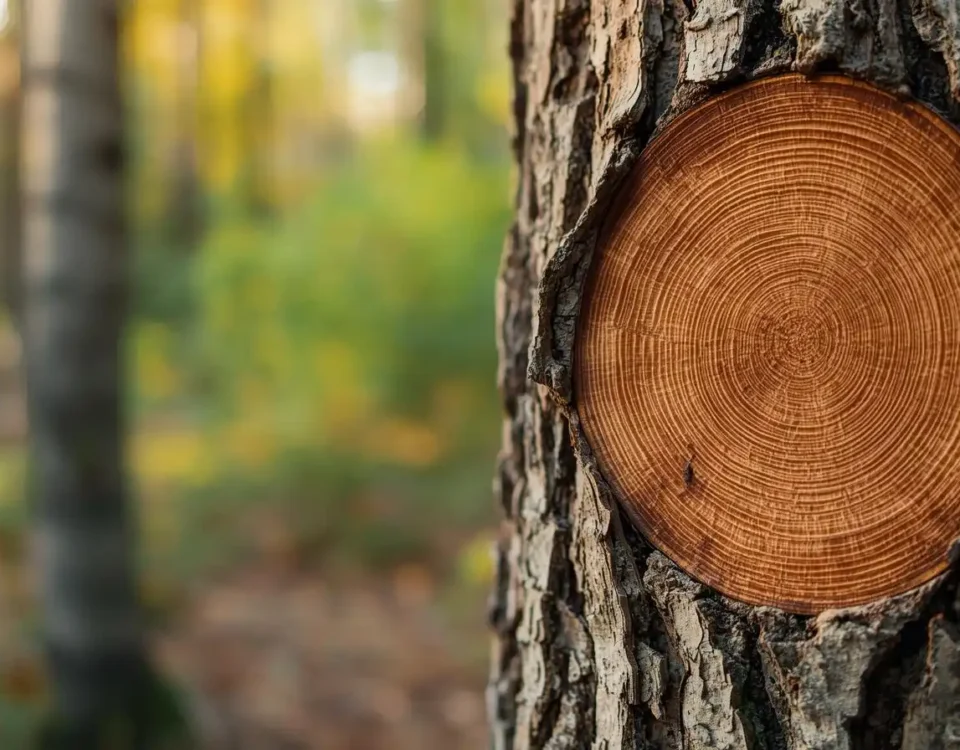
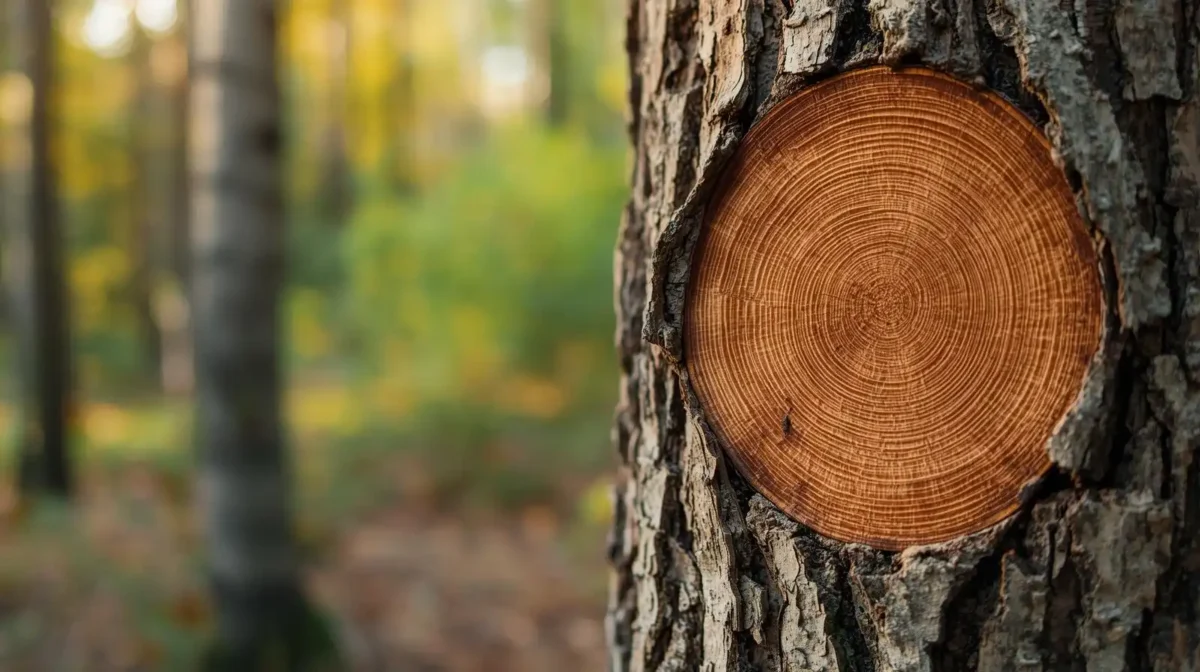
Hugelkultur, which literally means “hill culture” in German, is a gardening technique that transforms decaying wood and other organic materials into raised garden beds. mound and cover it with soil, considering tree anatomy. Over time, this organic core slowly decomposes, enriching the soil and creating a self-sustaining ecosystem.
The genius of Hugelkultur lies in its ability to mimic the natural processes of a forest floor, a concept supported by global forest counts. In the wild, fallen trees decompose gradually, feeding the surrounding soil and supporting plant life. Hugelkultur brings this dynamic, living system into your garden, allowing it to sustain itself while reducing the labor and resources you normally invest.
Historically, Hugelkultur traces back to traditional Germanic and Eastern European agricultural practices, where farmers relied on locally available wood and organic debris to enrich their fields. Today, this technique has experienced a powerful resurgence, embraced by permaculture enthusiasts, regenerative agriculture practitioners, and sustainable gardeners worldwide for its efficiency, productivity, and eco-friendly benefits.
1.2 The Science Behind Hugelkultur: Ecological Benefits & Problem-Solving
Water Retention & Management
One of Hugelkultur’s standout features is its incredible ability to manage water. The decaying wood at the heart of the bed acts like a sponge, absorbing rain and irrigation water and slowly releasing it over time. This natural sponge effect reduces the need for constant watering, which directly addresses the common gardener frustration of high water bills or dry, drought-prone conditions.
Environmentally, this also minimizes water runoff and evaporation, reducing reliance on municipal water systems. Studies in permaculture and sustainable agriculture have confirmed that woody debris can significantly increase soil moisture retention, making Hugelkultur a practical, science-backed solution for water-efficient gardening.
Soil Improvement & Nutrient Cycling
As the wood and organic matter decompose, they create a rich, friable soil structure. Microorganisms like fungi and bacteria break down the material, releasing a slow, continuous supply of nutrients directly into the surrounding soil. This process naturally transforms compacted or poor-quality soil into fertile, well-aerated ground without the constant need for chemical fertilizers.
Expert Tip: Use deciduous hardwoods such as willow, alder, birch, poplar, cottonwood, or fruit woods. These break down more quickly and provide more nutrients. Avoid black walnut due to juglone toxicity and steer clear of treated lumber because of harmful chemicals.
Temperature Regulation
The large volume of organic material in a Hugelkultur bed acts as thermal mass. It moderates soil temperatures, keeping roots cooler during hot summers and warmer during winter. This can help protect plants from early frosts, extend growing seasons, and create a more stable environment for your garden to thrive.
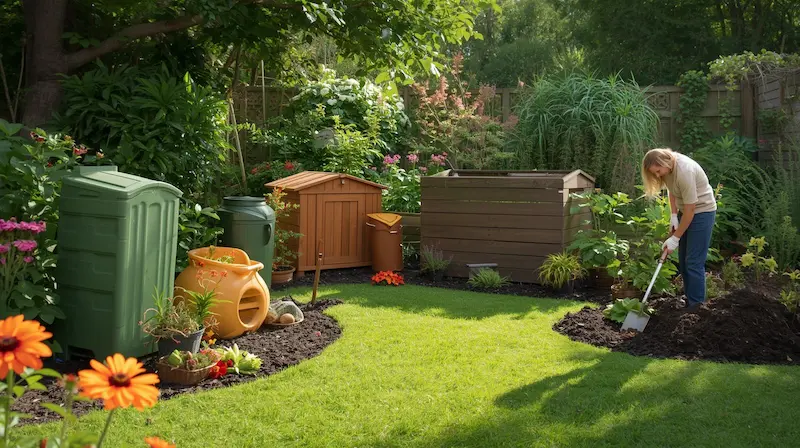
Waste Diversion & Resourcefulness
Hugelkultur is also a smart way to handle yard waste. Logs, branches, leaves, and even grass clippings that might otherwise be discarded become the foundation of a thriving garden bed. This “From Yard Waste to Garden Gold” approach reduces your need to purchase soil, compost, or fertilizers while turning potential garden clutter into a valuable asset.
Creating a Thriving Ecosystem
Beyond water and nutrients, Hugelkultur fosters biodiversity. Decomposing wood provides habitat for beneficial fungi, bacteria, insects, and worms. This microbial activity improves soil health, enhances nutrient cycling, and supports a resilient garden ecosystem.
Addressing Common Gardening Pain Points
Hugelkultur offers practical solutions to many common gardening frustrations:
- Poor Soil Quality/Compacted Earth: Builds deep, fertile, aerated soil naturally.
- High Water Bills/Drought: Reduces irrigation needs through water retention.
- Yard Waste Accumulation: Turns branches, logs, and leaves into garden assets.
- Overwhelmed by Permaculture Principles: Provides a practical entry point into sustainable gardening.
- High Cost of Raised Beds/Soil: Uses free, on-site materials.
- Lack of Time: Reduces ongoing maintenance like weeding, watering, and fertilizing.
- Erosion/Nutrient Leaching: The mound structure and organic matter help stabilize soil.
In essence, Hugelkultur is a multifunctional gardening strategy. It addresses multiple challenges simultaneously, soil fertility, water efficiency, waste management, and ecosystem health, making it a cornerstone technique for anyone looking to garden smarter, not harder.
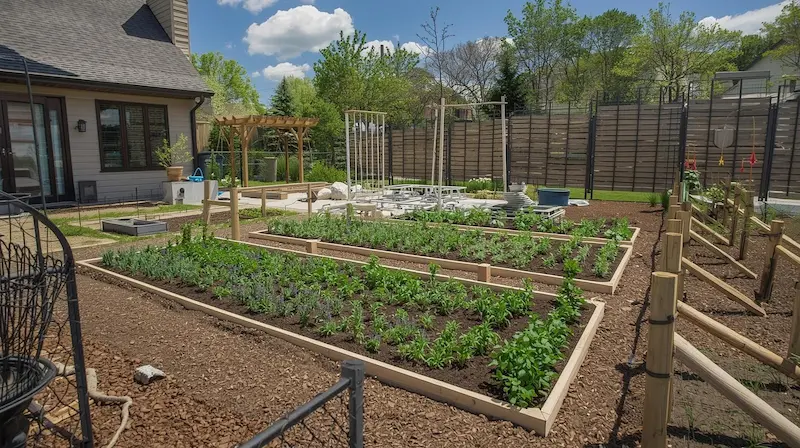
2. Planning Your Hugelkultur Bed: Site Selection & Strategic Design
2.1 Choosing the Ideal Location for Maximum Impact
The success of your Hugelkultur bed starts with selecting the right spot. Thoughtful placement ensures optimal growth, water efficiency, and ease of maintenance.
Sunlight Requirements:
Most vegetables thrive in full sun, which means six to eight hours of direct sunlight per day. For shade-tolerant crops or extremely hot climates, partial shade may be suitable.
Expert Tip: Orient your bed along an east-west axis. This alignment maximizes sun exposure throughout the day, benefiting sun-loving plants and increasing passive solar gain, which helps with soil warming and growth.
Drainage & Water Flow:
Avoid low-lying areas where water tends to pool, as excessive moisture can slow decomposition and create anaerobic conditions. Consider how your bed interacts with natural slopes or water catchment areas, strategically placed beds can capture rainwater more effectively.
Accessibility:
Plan your bed for easy access during construction, planting, and harvesting, ensuring you have proper gardening gloves. While Hugelkultur reduces ongoing maintenance, having clear pathways ensures a comfortable gardening experience.
Proximity to Water Source:
Even though Hugelkultur beds reduce long-term watering needs, newly built beds need thorough initial watering. Place your bed within reasonable reach of a hose or rainwater collection system.
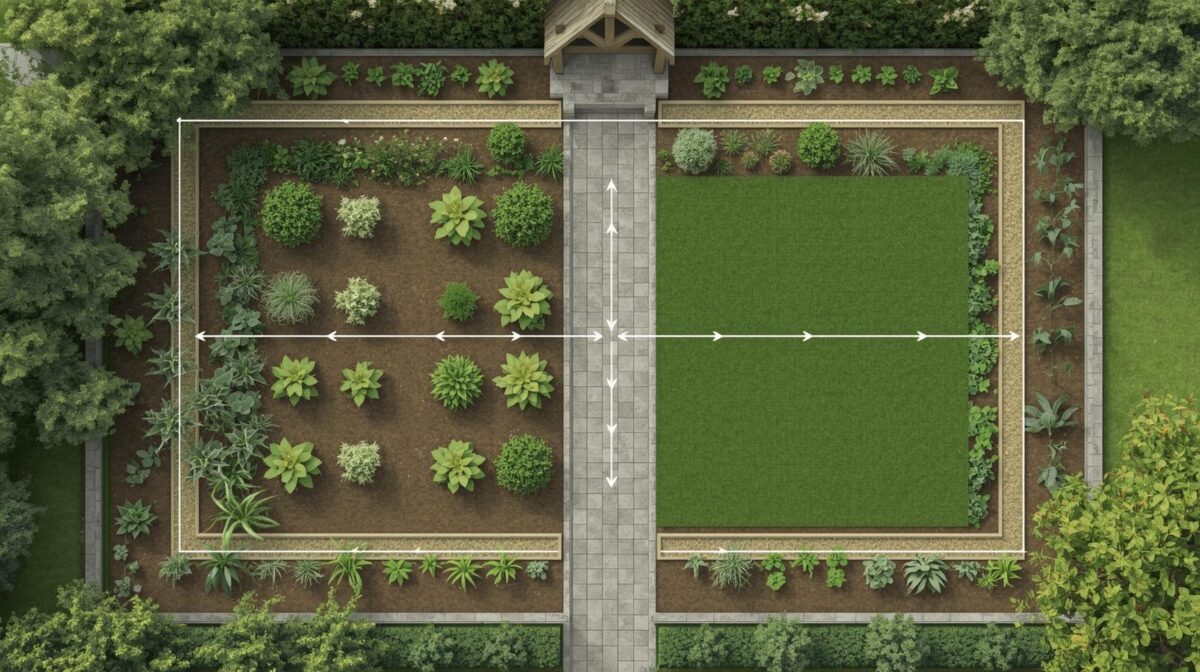
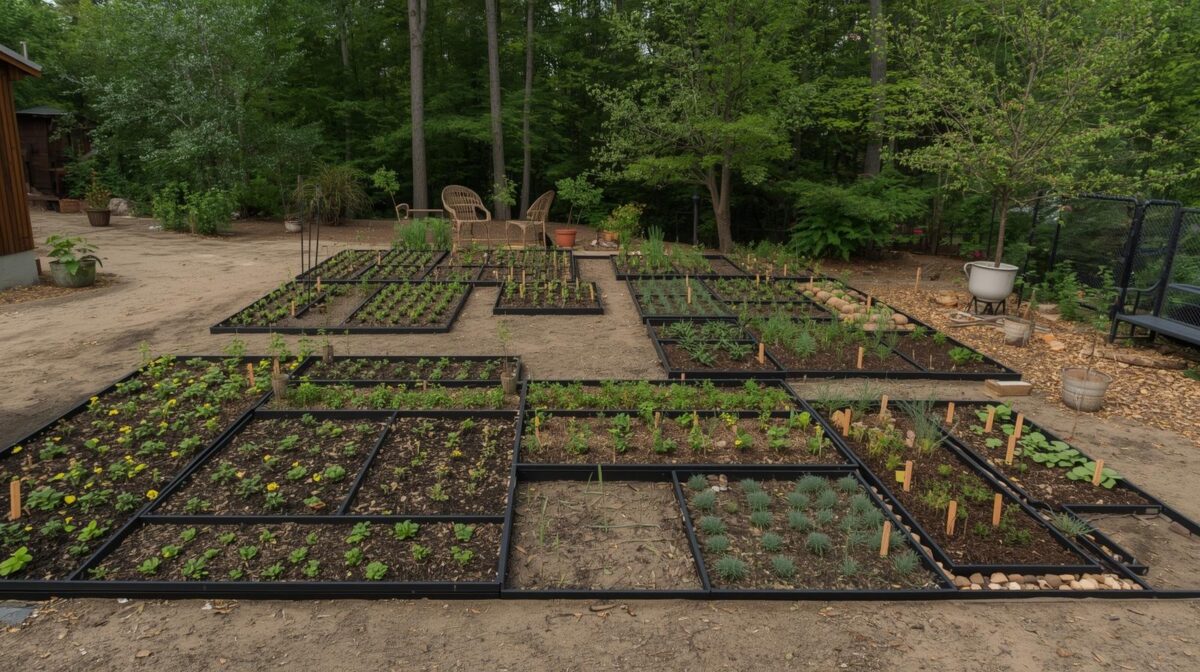
2.2 Strategic Design: Size, Shape, and Permaculture Integration
- The classic Hugelkultur style, visually prominent and highly functional. Offers maximum volume for wood, improves water retention, and adds a striking garden feature.:
- A lower-profile option that can blend into existing garden beds or pathways. Ideal for areas with height restrictions or where a subtler look is desired
Choose the style based on your aesthetic goals, available materials, and functional priorities such as water retention or soil warming.
Dimensions & Scale:
- Width: Keep it between 4-6 feet to allow easy access from both sides without stepping on the bed.
- Length: Flexible, depending on available space and materials.
- Height: Ranges from 18 inches to 6 feet or more. Taller beds provide greater benefits but require more material and effort.
Expert Tip: If you’re new to Hugelkultur, start small, say 4x8 feet and 2-3 feet high. This allows you to observe performance, learn the process, and gain confidence before tackling larger projects.
Integrating with Broader Permaculture Principles:
A Hugelkultur bed can become a key feature in a larger permaculture design. Consider positioning beds near water-harvesting systems such as swales to maximize efficiency. Plan for microclimates, companion planting, and perennial food systems to create a self-sustaining ecosystem. Design plant guilds that thrive together, taking advantage of the unique soil and moisture conditions your Hugelkultur bed provides.
Climate-Specific Adaptations:
- Arid Climates: Build deeper trenches with dense, larger wood pieces for maximum water retention. Adding clay-rich layers can further conserve moisture.
- Humid Climates: Ensure good air circulation within the mound. Slightly smaller or less dense beds prevent waterlogging and anaerobic conditions.
- Cold Climates: Taller mounds capture more solar energy, warming the soil for earlier planting and extended harvests.
- Temperate Climates: Standard designs work well, focusing on a mix of wood types and material balance.
Cost-Benefit Analysis:
Many Hugelkultur materials, fallen branches, logs, leaves, are free, making initial costs minimal. Compare this to long-term savings in water, fertilizer, and labor. A well-designed Hugelkultur bed can offer a substantial return on investment through increased productivity, sustainability, and reduced maintenance over time.
3. Gathering Your Materials: The Foundation of a Thriving Bed
The materials you choose for your Hugelkultur bed determine not only its productivity but also its long-term resilience. Proper layering of organic matter ensures healthy decomposition, nutrient cycling, and water retention.
3.1 Essential Organic Materials for Layering
Wood (The Core Structural & Nutrient Element):
The heart of any Hugelkultur bed is wood. Decaying logs, branches, stumps, wood chips, and larger chunks form the structural base while slowly releasing nutrients over time. Deciduous hardwoods, like willow, poplar, alder, birch, cottonwood, and fruit trees (apple, cherry, pear, plum), decompose at a good pace and enrich the soil with a diverse nutrient profile.
Avoid These Woods:
- Black Walnut (Juglans nigra): Produces juglone, a natural toxin harmful to many garden plants.
- Cedar & Redwood: Decompose very slowly and contain natural compounds that can inhibit microbial activity.
- Treated Lumber: Contains chemicals such as copper or arsenic that can leach into your soil and food.
- Diseased Wood: Risk of introducing pathogens to your garden.
Expert Tip: Season fresh logs by allowing them to dry for a few months before burying. This helps prevent a temporary nitrogen drain from the surrounding soil as decomposition begins.
Smaller Woody Debris: Twigs, small branches, wood chips, and untreated sawdust can fill gaps, improve aeration, and speed up microbial colonization.
Green Materials (Nitrogen Boosters): Fresh grass clippings, leafy garden waste, comfrey, nettles, and other nitrogen-rich plant matter feed the decomposing microbes and jump-start nutrient cycling.
Brown Materials (Carbon Source & Aeration): Dry leaves, straw, shredded cardboard (non-glossy, remove tape/labels), and newspaper act as carbon sources, balancing nitrogen inputs and maintaining proper aeration within the mound.
Manure & Compost: Well-rotted manure from herbivores (horses, cows, chickens) and finished compost add beneficial microorganisms and provide an initial nutrient boost to support decomposition.
Topsoil: High-quality topsoil or your existing garden soil forms the final planting layer, giving seeds and transplants a fertile environment to establish.
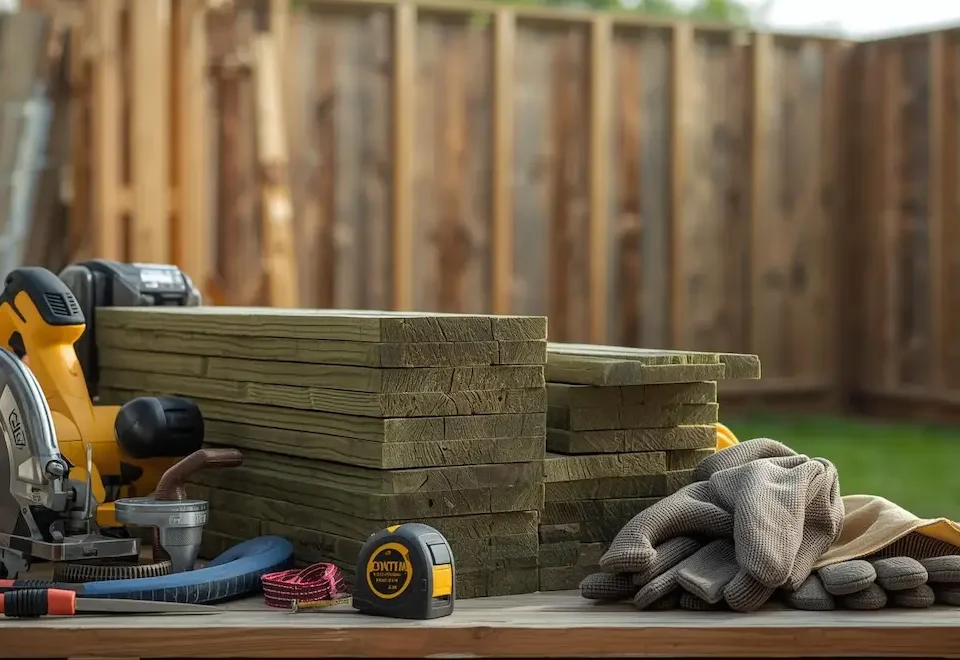
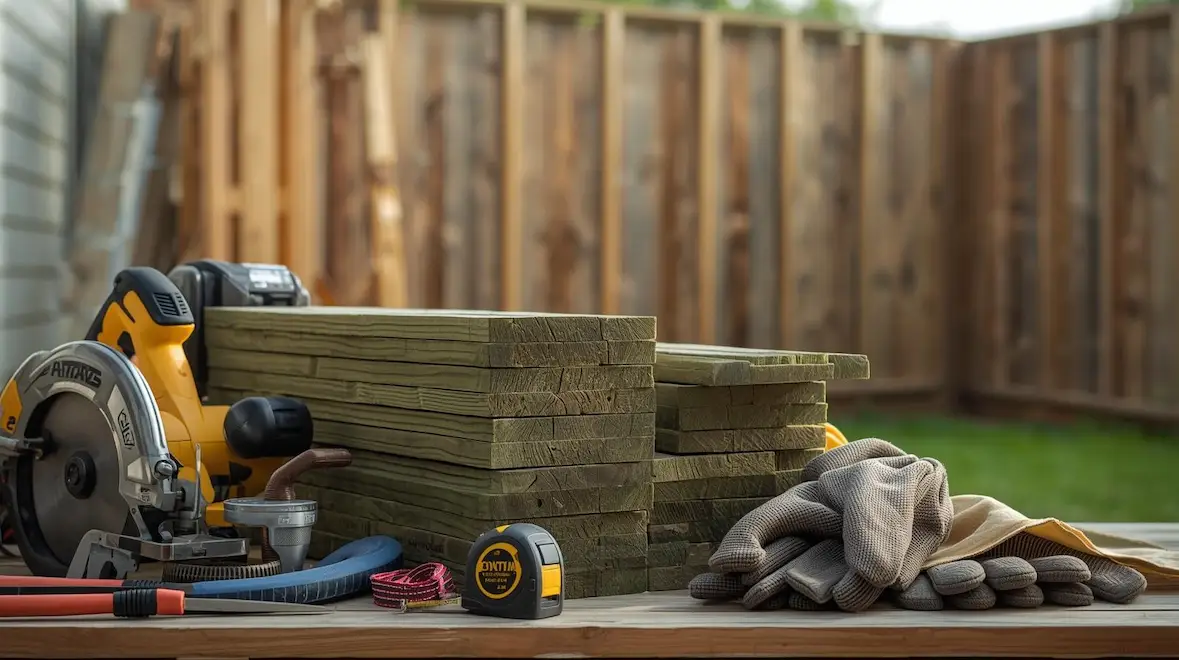
3.2 Tools and Resources for Efficient Construction
Having the right tools makes building a Hugelkultur bed safer and more efficient:
- Garden Shovels & Spades: For digging, moving soil, and layering organic materials.
- Work Gloves & Safety Glasses: Protect your hands and eyes when handling rough wood and using cutting tools.
- Hand Saws or Chainsaw: Helps cut large logs and branches into manageable pieces.
- Wheelbarrow or Garden Cart: Essential for transporting heavy logs, soil, and organic matter efficiently.
- Soil pH Testing Kit: Useful for assessing your existing soil and monitoring changes over time, allowing adjustments for optimal plant growth.
- Organic Compost/Well-Rotted Manure: Kickstarts microbial activity in your bed’s top layers.
- Permaculture Resources: Books or online courses deepen your understanding of sustainable gardening and help integrate your Hugelkultur bed into a larger ecological design.
Sustainable Material Sourcing:
- Local Arborists/Tree Removal Services: Often offer untreated logs and branches (confirm species first).
- Community Compost Facilities or Transfer Stations: Can provide wood chips, leaves, and finished compost.
- Your Own Yard Waste: Branches, leaves, and grass clippings are the most direct, sustainable source.
- Neighbors: Offer to take their untreated wood or leaf piles.
- Online Marketplaces: “Free” sections on Craigslist or Facebook Marketplace often list wood and organic matter for pick-up.

Commercial Grade Lawn Energizer - Grass Fertilizer Booster with Nitrogen, Iron, Micronutrients - Liquid Turf Spray Concentrated Fertilizer- Any Grass Type - Simple Lawn Solutions (1 Gallon)

Marineland Black Diamond Premium Activated Carbon 22 Ounces, Filter Media For Aquariums

Espoma Organic Chicken Manure 25 lb. Bag. All natural & Organic Fertilizer for All Flowers, Vegetables, Trees, and Shrubs. for Organic Gardening.

Miracle-Gro Potting Mix, For Container Plants, Flowers, Vegetables, Annuals, Perennials, Shrubs, Feeds for up to 6 Months, 16. qt., 2-Pack

Fiskars 46" Spade Garden Shovel, Steel Flat Spade with Ergonomic D-Handle, Sharp Blade Square Shovel for Lawn Edging, Digging, Heavy Duty Yard Tool,

HANDLANDY Work Gloves for Men & Women, Utility Mechanic Working Gloves Touch Screen, Flexible Yard Work Gloves

Soil pH Meter, MS02 3-in-1 Soil Moisture/Light/pH Tester Gardening Tool Kits for Plant Care, Great for Garden, Lawn, Farm, Indoor & Outdoor Use (Green)
4. Step-by-Step Construction: Building Your Hugelkultur Bed
Building a Hugelkultur bed is a hands-on process, but with careful planning and step-by-step execution, it’s highly manageable and rewarding. This section walks you through construction from site preparation to the final watering stage.
4.1 Site Preparation and Base Layer Foundation
Step 1: Mark Out Your Bed
Clearly define the footprint of your bed using stakes and string, spray paint, or even a garden hose. This visual guide helps maintain straight lines, consistent width, and planned orientation.
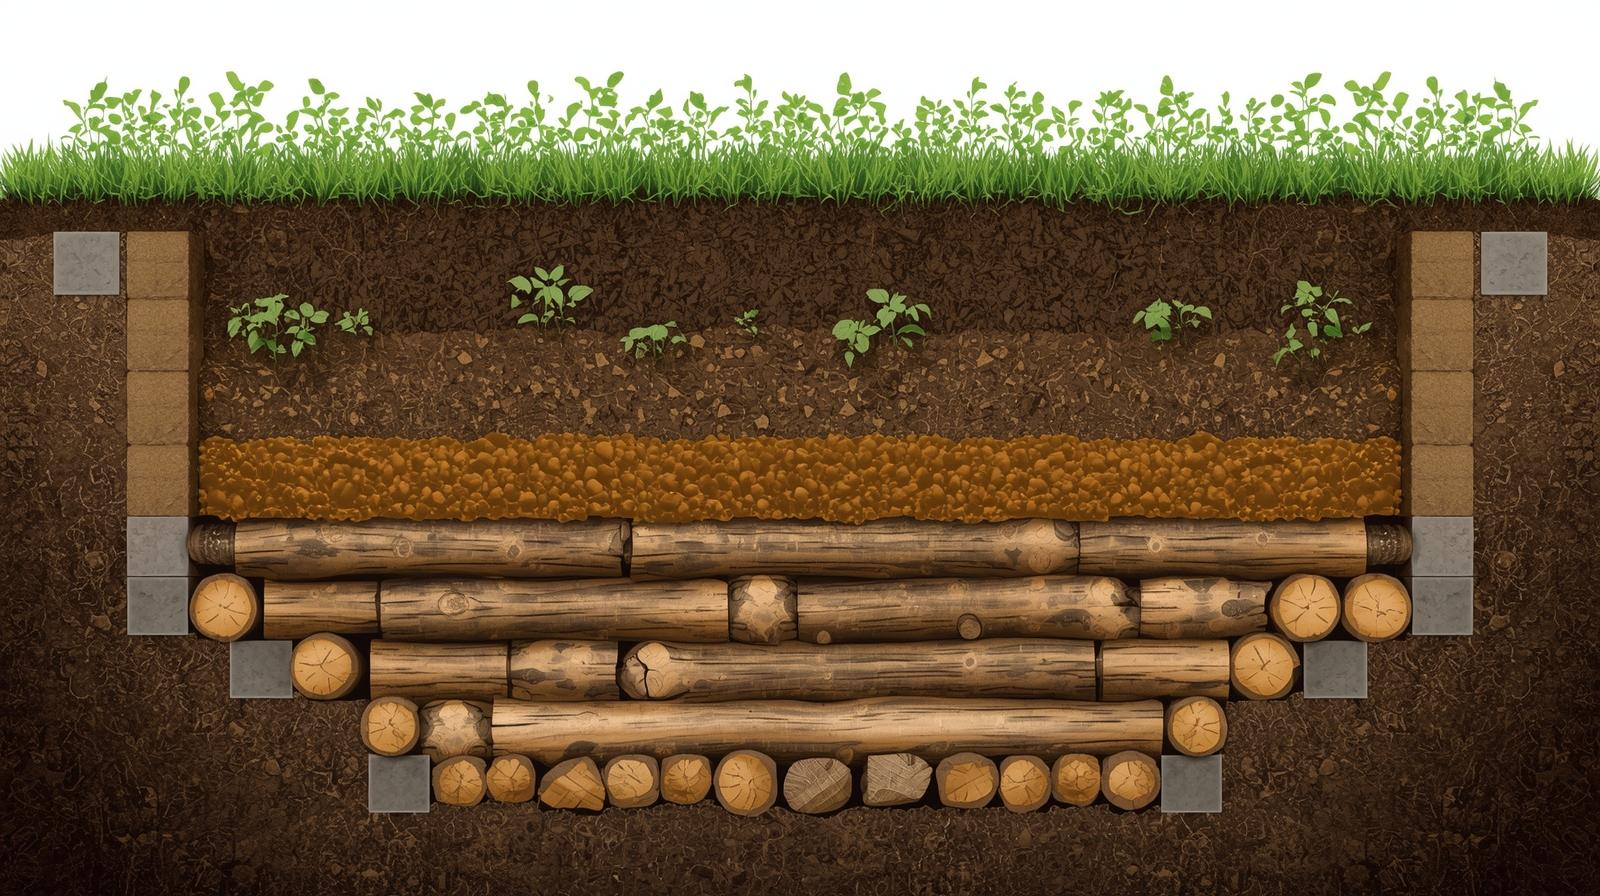
Step 2: Dig the Trench (Optional but Recommended)
- Purpose: Digging a trench 1–2 feet deep provides stability, increases water-holding capacity, and allows deeper root growth.
- Execution: Carefully excavate the soil and set it aside for later layering.
Step 3: Lay the Largest Wood Pieces
- Placement: Position the largest logs, stumps, and thick branches at the bottom of the trench (or directly on the ground if no trench is dug).
- Arrangement: Leave small air pockets for aeration, but ensure the base is stable. A solid foundation is crucial for long-term performance.
- Expert Tip: Strategic layering is key. Alternate logs, branches, leaves, and soil to create optimal air pockets, maximize moisture retention, and encourage diverse nutrient availability.
E-E-A-T Consideration: Use original photos or videos showing hands-on placement of logs to demonstrate expertise and build trust with your audience.
4.2 Layering the Organic Matter for Optimal Decomposition
Step 4: Fill Gaps with Smaller Woody Debris
Nest smaller branches, twigs, and wood chips into crevices between larger logs. This improves contact between materials, stabilizes the structure, and enhances microbial activity.
Step 5: Add Nitrogen-Rich Green Layers
Spread fresh grass clippings, green plant waste, or fresh leaves over the woody base. These nitrogen-rich materials balance the carbon-heavy wood and prevent nitrogen immobilisation, helping microbes efficiently decompose the bed.
Step 6: Incorporate Carbon-Rich Brown Materials
Layer straw, dry leaves, shredded cardboard, or newspaper to provide additional carbon, improve aeration, and maintain moisture.
Step 7: Introduce Compost or Manure (Inoculation Layer)
Sprinkle well-rotted compost or manure over the previous layers. This introduces beneficial microorganisms, jump starting decomposition and enriching soil fertility.
Repeat Layers (Optional): Continue layering wood, green, brown, and compost materials until you reach the desired height, ensuring proper compaction and moisture distribution along the way.
4.3 Finishing the Bed for Planting
Step 8: Cover with Soil
- Cover the mound with soil excavated from the trench.
- Add a final 4–6 inch layer of high-quality topsoil to create a fertile planting medium.
- Shape the bed into a gentle, rounded mound. Ensure no wood is exposed, as this can dry out quickly or attract pests.
Step 9: Water Thoroughly (The Initial Soak)
- Soak the bed deeply and slowly to settle all materials, eliminate large air pockets, and initiate decomposition.
- Monitor moisture during the first few weeks, especially in dry climates.
Expert Tip: Deep initial watering is essential for establishing microbial activity and consolidating the mound structure.
Unique Content Suggestion: An animated layering diagram or 3D model can help users visualize and virtually “build” a Hugelkultur bed step by step.
4.4 Materials Checklist for Each Stage of Construction
|
Layer/Stage |
Recommended Materials |
Purpose/Notes |
|
Site Preparation |
Garden shovel, spade, measuring tape/string, stakes, spray paint |
Define bed footprint and orientation |
|
Base Layering |
Large logs, stumps, thick branches (untreated, non-allelopathic hardwoods) |
Forms the structural backbone, air pockets, and primary water reservoir |
|
Layer 2: Smaller Wood Debris |
Branches, twigs, wood chips, sawdust (untreated, non-allelopathic) |
Fills gaps, enhances microbial activity, stabilizes structure |
|
Layer 3: Green Materials |
Grass clippings, fresh leaves, green garden waste, comfrey, nettles |
Adds nitrogen for decomposition, retains moisture, provides initial nutrients |
|
Layer 4: Brown Materials |
Dry leaves, straw, shredded cardboard/newspaper (non-glossy, no tape) |
Provides carbon, improves aeration, helps maintain moisture |
|
Layer 5: Inoculation Layer |
Well-rotted compost, finished compost, well-rotted animal manure |
Introduces beneficial microbes to kickstart decomposition |
|
Layer 6: Topsoil/Planting Medium |
High-quality topsoil, enriched garden soil |
Fertile medium for planting, covers all organic layers |
|
Layer 7: Final Watering |
Water hose, sprinkler, soaker hose |
Settles materials, eliminates air pockets, initiates decomposition |
Region-Specific Recommendations:
- North America: Apple, cherry, oak, maple, and poplar are excellent hardwood options.
- Europe: Birch, beech, willow, and fruit trees like plum and pear work well.
- Asia: Acacia, mulberry, and native hardwoods can be suitable; avoid toxic or slow-decomposing species.
Note: Double-check local availability, ensure wood is untreated, and prioritize sustainability when sourcing materials.
5. Initial Planting & Care for Your New Hugelkultur Bed
Once your Hugelkultur bed is built and settled, it’s time to start planting. Proper selection, strategic planting, and attentive early care ensure your bed thrives for years to come.
5.1 What to Plant in Your Hugelkultur Bed
Early Years (Managing Nitrogen Draw):
In the first year or two, the decomposing wood in your bed may temporarily tie up nitrogen, a process called nitrogen immobilization. During this period, focus on crops that are lighter nitrogen feeders:
- Squash and pumpkins
- Potatoes
- Legumes such as beans and peas
- Tomatoes
- Many herbs
Adding nitrogen-fixing plants like clover or vetch can also support soil health by replenishing nitrogen and encouraging microbial activity.
Later Years (Full Nutrient Release):
As the wood decomposes over time, your Hugelkultur bed becomes highly fertile, making it ideal for heavy-feeding crops:
- Corn
- Brassicas like cabbage and broccoli
- Fruit trees and shrubs
Succession Planting & Polyculture Ideas:
- Early spring: peas and radishes
- Summer: tomatoes, peppers, zucchini
- Fall: kale, broccoli, and late beans
Incorporating perennials such as berries, small fruit trees, or perennial herbs can transform your bed into a low-maintenance, long-term food source. This “set-it-and-forget-it” approach is one of Hugelkultur’s unique advantages.
Planting on Slopes:
Take advantage of your mound’s natural slopes. Upper slopes drain quickly and suit drought-tolerant or sun-loving plants, while lower areas retain more moisture for water-hungry crops.
5.2 Planting Techniques for Success
Preparing the Plants:
Choose healthy seedlings or transplants free of disease or pests, like browning arborvitae. Ensure roots are well-hydrated before planting.
Planting Depth & Spacing:
Follow standard guidelines for each plant type, but keep in mind the bed may settle slightly over time. Avoid compacting the soil as you plant to maintain aeration.
Mulching:
Apply a generous layer of organic mulch, straw, wood chips, or leaves, to conserve moisture, suppress weeds, and maintain soil temperature. Mulching also encourages beneficial microbial activity, enhancing long-term soil health in line with permaculture principles.
5.3 Initial Watering & Monitoring
Post-Planting Watering:
After planting, water seedlings thoroughly to settle the soil around their roots. Deep, slow watering is more effective than frequent shallow watering.
Monitoring Moisture:
While Hugelkultur beds are largely self-watering, new beds still need regular attention. Check moisture levels daily during hot or dry periods. Signs your plants need water include wilting or yellowing leaves.
pH Monitoring:
Wood decomposition can temporarily lower soil pH. Use a soil pH testing kit in the first year to monitor acidity. If needed, add lime or other amendments to maintain an optimal range for your crops.
Expert Tip: Pay close attention during the first few weeks after planting. Consistent moisture helps seedlings establish strong root systems, setting the stage for the bed’s long-term self-sufficiency.
6. Long-Term Management & Evolution of a Hugelkultur Bed
One of the most rewarding aspects of Hugelkultur gardening is how the bed evolves over time. While the initial construction takes effort, long-term management is surprisingly low-maintenance, with beds improving in fertility and resilience year after year.
6.1 What to Expect: Settling and Nutrient Cycling
Expect Settling:
Hugelkultur beds naturally compact as the organic materials decompose. Most settling occurs in the first year but continues gradually over several years.
- Expert Tip: Build your bed slightly higher than your intended final height to accommodate settling.
- Visual changes include shrinking height and slight reshaping of the mound as logs, branches, and other organic matter break down.
Nutrient Release Over Time:
- Early Years: Wood decomposition can temporarily tie up nitrogen, so lighter nitrogen-feeding crops may perform better during the first 1–2 years.
- Later Years: As the wood continues to break down, the bed becomes exceptionally fertile, producing a continuous, slow-release source of nutrients, a true “garden goldmine.”
E-E-A-T Consideration: Share observations or case studies from multiple seasons, including how nutrient availability, soil structure, and plant performance evolved. Real-life insights strengthen credibility and trust.
6.2 Ongoing Maintenance (or Lack Thereof)
Reduced Watering:
Once established, Hugelkultur beds require much less irrigation. The decomposing wood acts like a sponge, slowly releasing moisture to plant roots.
Minimal Weeding:
The mound’s height and rich soil naturally suppress many weeds, especially when topped with organic mulch. Annual mulch refreshes enhance weed suppression and moisture retention.
Nutrient Replenishment:
- In most cases, external fertilizers are unnecessary after the first few years.
- Occasionally, add a thin layer of compost or organic amendments to the topsoil if heavy feeders are planted or if certain nutrients become limiting.
Mulch Application:
- Refresh mulch annually to maintain soil moisture, protect against erosion, and encourage a thriving microbial ecosystem.
6.3 Long-Term Evolution & Troubleshooting
Bed Evolution:
- Expect further settling, continued nutrient release, and gradual shifts in plant successions over multiple seasons.
- Beds often develop distinct microclimates along slopes, favoring diverse plant communities.
Common Issues & Solutions:
- Temporary Nitrogen Tie-Up: Plant nitrogen-fixing species or lightly supplement with compost to balance nutrients.
- Persistent Weeds: Use targeted weeding, thicker mulch, or cover crops to suppress them.
- Excessive Settling: Add topsoil or compost to raise bed height, re-mound as needed, and maintain gentle slopes for stability.
By understanding the natural evolution of a Hugelkultur bed, gardeners can enjoy a self-sustaining, resilient garden system that improves year after year with minimal intervention.
7. Hugelkultur in Practice: Real-World Success & Considerations
Hugelkultur is more than just a gardening technique, it’s a transformative approach that addresses many common challenges while offering long-term rewards. Understanding its strengths, limitations, and real-world applications helps gardeners make informed decisions.
7.1 Pros and Cons of Hugelkultur
Advantages (Solving Common Gardening Pain Points):
- Water Conservation: Decomposing wood acts like a sponge, dramatically reducing irrigation needs.
- Improved Soil Health: Over time, the bed develops rich, fertile, well-draining soil.
- Waste Utilization: Logs, branches, leaves, and other yard waste become a productive garden resource.
- Low Maintenance: Minimal weeding, fertilizing, and watering are required once established.
- Extended Growing Season: Thermal mass of the mound helps regulate soil temperature, protecting plants from early frosts or summer heat.
- Increased Surface Area: Mounded beds provide additional planting space compared to flat beds.
- Erosion Control: Mounds stabilize soil on slopes and prevent nutrient runoff.
Potential Disadvantages (Setting Realistic Expectations):
- Initial Effort: Building a Hugelkultur bed can be labor-intensive, especially for large-scale projects.
- Nitrogen Immobilization: Temporary nitrogen draw in the first 1–2 years can affect heavy-feeding plants if green layers aren’t included.
- Settling: Beds compact over time, requiring occasional top-ups with soil or compost.
- Aesthetics: The naturally “wild” look may not suit all garden styles, though thoughtful design and planting can mitigate this.
- Material Sourcing: Finding sufficient untreated, non-allelopathic wood can be a challenge in some areas.
7.2 Hugelkultur Success Stories
Real-world examples demonstrate how Hugelkultur adapts to different environments and gardening goals:
Example 1: Arid Climate Oasis
A dry, desert-like yard transformed into a productive vegetable garden using a series of Hugelkultur beds. Minimal irrigation was required thanks to the wood’s water retention, allowing a thriving crop in an otherwise challenging environment.
Example 2: Urban Homestead Productivity
In a small city backyard, a single Hugelkultur mound maximized food production. Yard and kitchen waste were repurposed into a fertile bed, turning limited space into a sustainable, high-yield garden.
Example 3: Hillside Erosion Control
On a sloping property prone to soil erosion, a series of Hugelkultur beds stabilized the land while producing abundant vegetables and herbs. Mounds helped slow water runoff and improved soil structure over time.
E-E-A-T Consideration: Including interviews or quotes from gardeners who have successfully implemented Hugelkultur strengthens credibility. Statements about challenges, solutions, and lessons learned provide practical insight for readers.
7.3 Hugelkultur for Different Gardening Goals
Urban Homesteaders:
- Maximize productivity in small spaces.
- Efficiently use urban organic waste such as fallen branches, pruning debris, and kitchen scraps.
Drought-Prone Areas:
- Take advantage of the water-conserving benefits.
- Create resilient gardens that thrive during dry spells without intensive irrigation.
Gardeners with Poor Soil:
- Transform compacted, nutrient-poor soil into a fertile, friable growing medium.
- Establish a self-sustaining ecosystem that improves continuously over the years.
Hugelkultur can be adapted to diverse climates, spaces, and gardening goals, making it a versatile tool for modern gardeners looking to reduce effort while boosting productivity.
8. Addressing Common Concerns: Hugelkultur FAQs
Even with all the benefits of Hugelkultur, gardeners often have questions or hesitations. This section addresses common concerns and provides practical guidance.
Frequently Asked Questions
9. Conclusion
Hugelkultur offers a transformative approach to gardening that solves many common challenges while enhancing long-term productivity. By building a Hugelkultur bed, you harness the power of decomposing wood and organic materials to conserve water, enrich soil fertility, make use of yard waste, and create a low-maintenance, resilient garden system.
This technique is accessible to gardeners of all levels. Whether you have a small urban yard, a drought-prone plot, or a hillside garden, Hugelkultur allows you to work with natural processes rather than against them, creating a thriving ecosystem that continues to improve over time.
Take Action Today: Start planning your Hugelkultur bed and experience the benefits for yourself. Transform your garden into a productive, sustainable oasis while reducing water use, improving soil health, and giving new life to organic debris. Every log, branch, and leaf you repurpose contributes to a healthier environment and a more self-sufficient garden.

About the Author
This guide was written by Muhammad Arshad, a gardening blogger passionate about sustainable and regenerative practices. Drawing on expert guidance from his horticulture professor, Dr. Fiaz Hussain, Muhammad provides research-backed, practical advice to help home gardeners build thriving, self-watering Hugelkultur beds and resilient landscapes.
Want more gardening guides? Visit the author page or follow on Instagram.